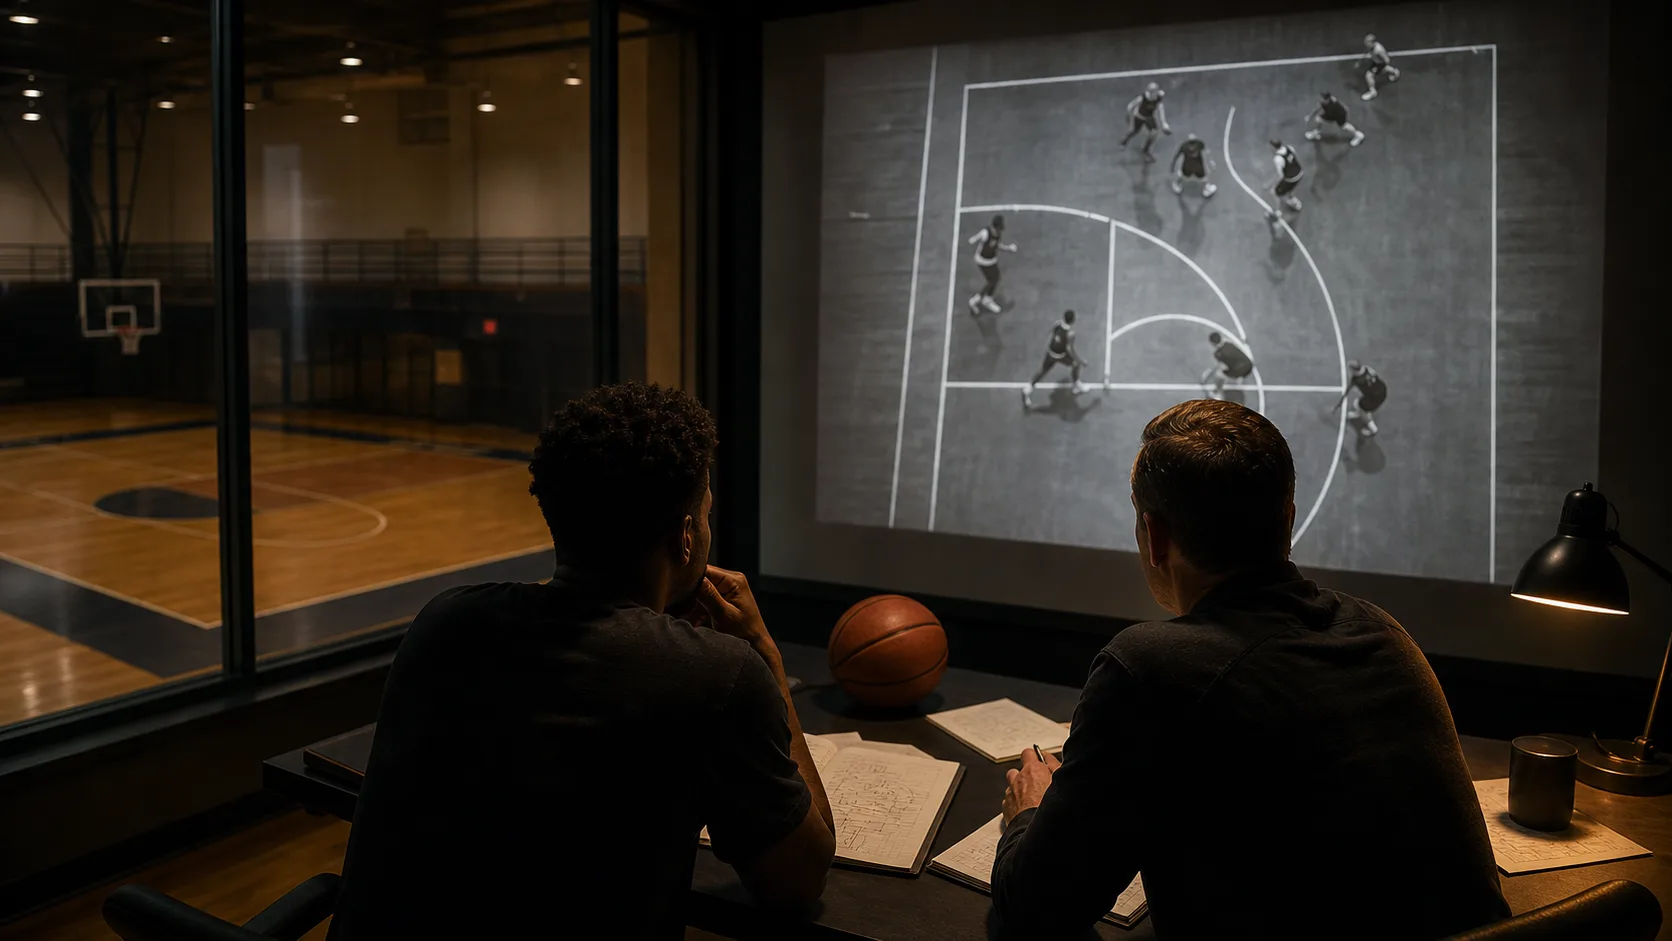
Foul trouble decides Finals games more than anyone admits. The visible decisions get the attention, the timeouts, the substitutions, the ATO calls. The quieter decision is whether the star sits with two fouls or rides it out. That single judgment, made multiple times across a 7-game series, often decides the series.
This piece walks through the rubric NBA coaches use for foul-trouble management, the math behind the bench-or-ride decision, and the contingencies built into every Finals scouting report. It builds on the defending without fouling piece (which is about the player side) and the coach trust piece (which is about the rotation side).
The Default Rule
Most NBA staffs operate on a default foul-trouble rule, then deviate from the default when the matchup demands it:
- Q1: Pull at 2 fouls
- Q2: Pull at 3 fouls
- Q3: Pull at 4 fouls
- Q4: Ride it out
The default exists because the math is consistent: a star averaging 36+ minutes per game who picks up his second foul in the first 6 minutes is statistically very likely to pick up his third foul before halftime, and so on. The rule is the staff's pre-committed answer to a decision they don't want to make in real time.
When to Break the Rule
Finals coaches break the default in three predictable situations:
Situation 1: A star with 3 fouls in the third against a weaker opposing scorer. If the opponent's primary scorer is having a quiet game, the foul-trouble cost of leaving the star in is lower. He can defend without aggressive contests, the opponent isn't generating high-EV looks anyway, and the lineup downgrade from benching him is higher than the foul-trouble risk.
Situation 2: A star with 2 fouls in the first against an elite scorer. The default says wait until the second quarter. Finals matchups often require pulling immediately because the opposing star is going to draw the next foul whether the rotation is set or not. Better to pull early, get the bench unit into the game pattern, and have the star fresh for crunch time.
Situation 3: Multiple players in foul trouble at the same time. When two starters are at 3 fouls in the third, the bench unit has to play extended minutes anyway. The math becomes a chess problem: which player can the bench unit cover for longer, and which player is harder to replace?
The Bench Unit Math
The decision to pull a star in foul trouble is fundamentally a math problem: what does the team expect to lose during the missed minutes versus what it expects to lose if the star fouls out in the fourth quarter?
The PPP framework is the right lens. If the lineup with the star yields +0.10 PPP differential per possession and the bench unit yields -0.05 PPP, the cost of a 6-minute bench is roughly:
`(0.10 - (-0.05)) × 12 possessions = 1.8 points`
That's the certain cost. Now compare to the probabilistic cost of fouling out in Q4: if the star sits 5+ minutes of Q4 with a 30% probability, and his presence in those minutes is worth +0.20 PPP differential across ~10 high-leverage possessions, the expected cost is 0.30 × 2.0 = 0.6 points.
In this scenario, sitting the star now (cost 1.8) is worse than risking the foul-out (expected cost 0.6). The staff rides out the third.
The math flips when the probability of fouling out is higher (4 fouls instead of 3) or when the player's late-game value is bigger (closer game, more clutch possessions expected). Each staff runs this calculation in real time.
The Scouting Report Contingency
Every Finals scouting report includes a foul-trouble contingency plan for each star, a pre-committed answer to "what do we do if X is in foul trouble in the third?" The contingency includes:
1. The substitute. Which bench player gets the minutes. 2. The coverage change. What happens to the team's pick-and-roll defense without the star (often a more conservative drop replacing a switch). 3. The offensive adjustment. Which set goes away (the iso plays that ran through the star) and which sets get more reps (motion plays that don't require him). 4. The reactivation script. When and how to bring the star back in, usually with a timeout to install the next coverage and an ATO on the first possession back.
The Whistle Pattern
Finals officiating crews have patterns. The drawing fouls piece covers the offensive side; the defensive side is just as readable. Some crews call body fouls more aggressively; others let physicality slide. The staff that reads the pattern earlier in the series adjusts foul-trouble decisions accordingly.
The classic mistake: assuming the whistle is consistent across crews. It isn't. Game 3 with a different officiating crew can produce a different foul environment than Game 1, and the foul-trouble rules have to flex to match.
The Rotation Trust Curve
The reason foul-trouble decisions are hard is they require trust in the bench unit. Finals rotations are tight, usually 8-9 players, and the players outside the top 8 may not have played meaningful minutes since the Conference Finals. Asking them to defend for 6 minutes in Game 3 of the Finals is asking a lot.
The role-player blueprint and the coach trust piece explain how staffs build the bench-unit reliability that makes foul-trouble decisions tolerable. Without bench reliability, the staff defaults to riding out the star and risking the foul-out, which is the worse decision more often than not.
What to Watch
When a Finals star picks up his second foul in the first quarter, the staff's decision in the next 30 seconds tells you what they think about three things at once: their bench depth, their scouting on the opponent's third-quarter offense, and their late-game leverage. The decision is rarely about the foul. It's about the rest of the game.
HoopBrief's subscriber reports track foul-management decisions across a series, including the bench-unit math for each star and the contingency plan in each scouting report. See plans.